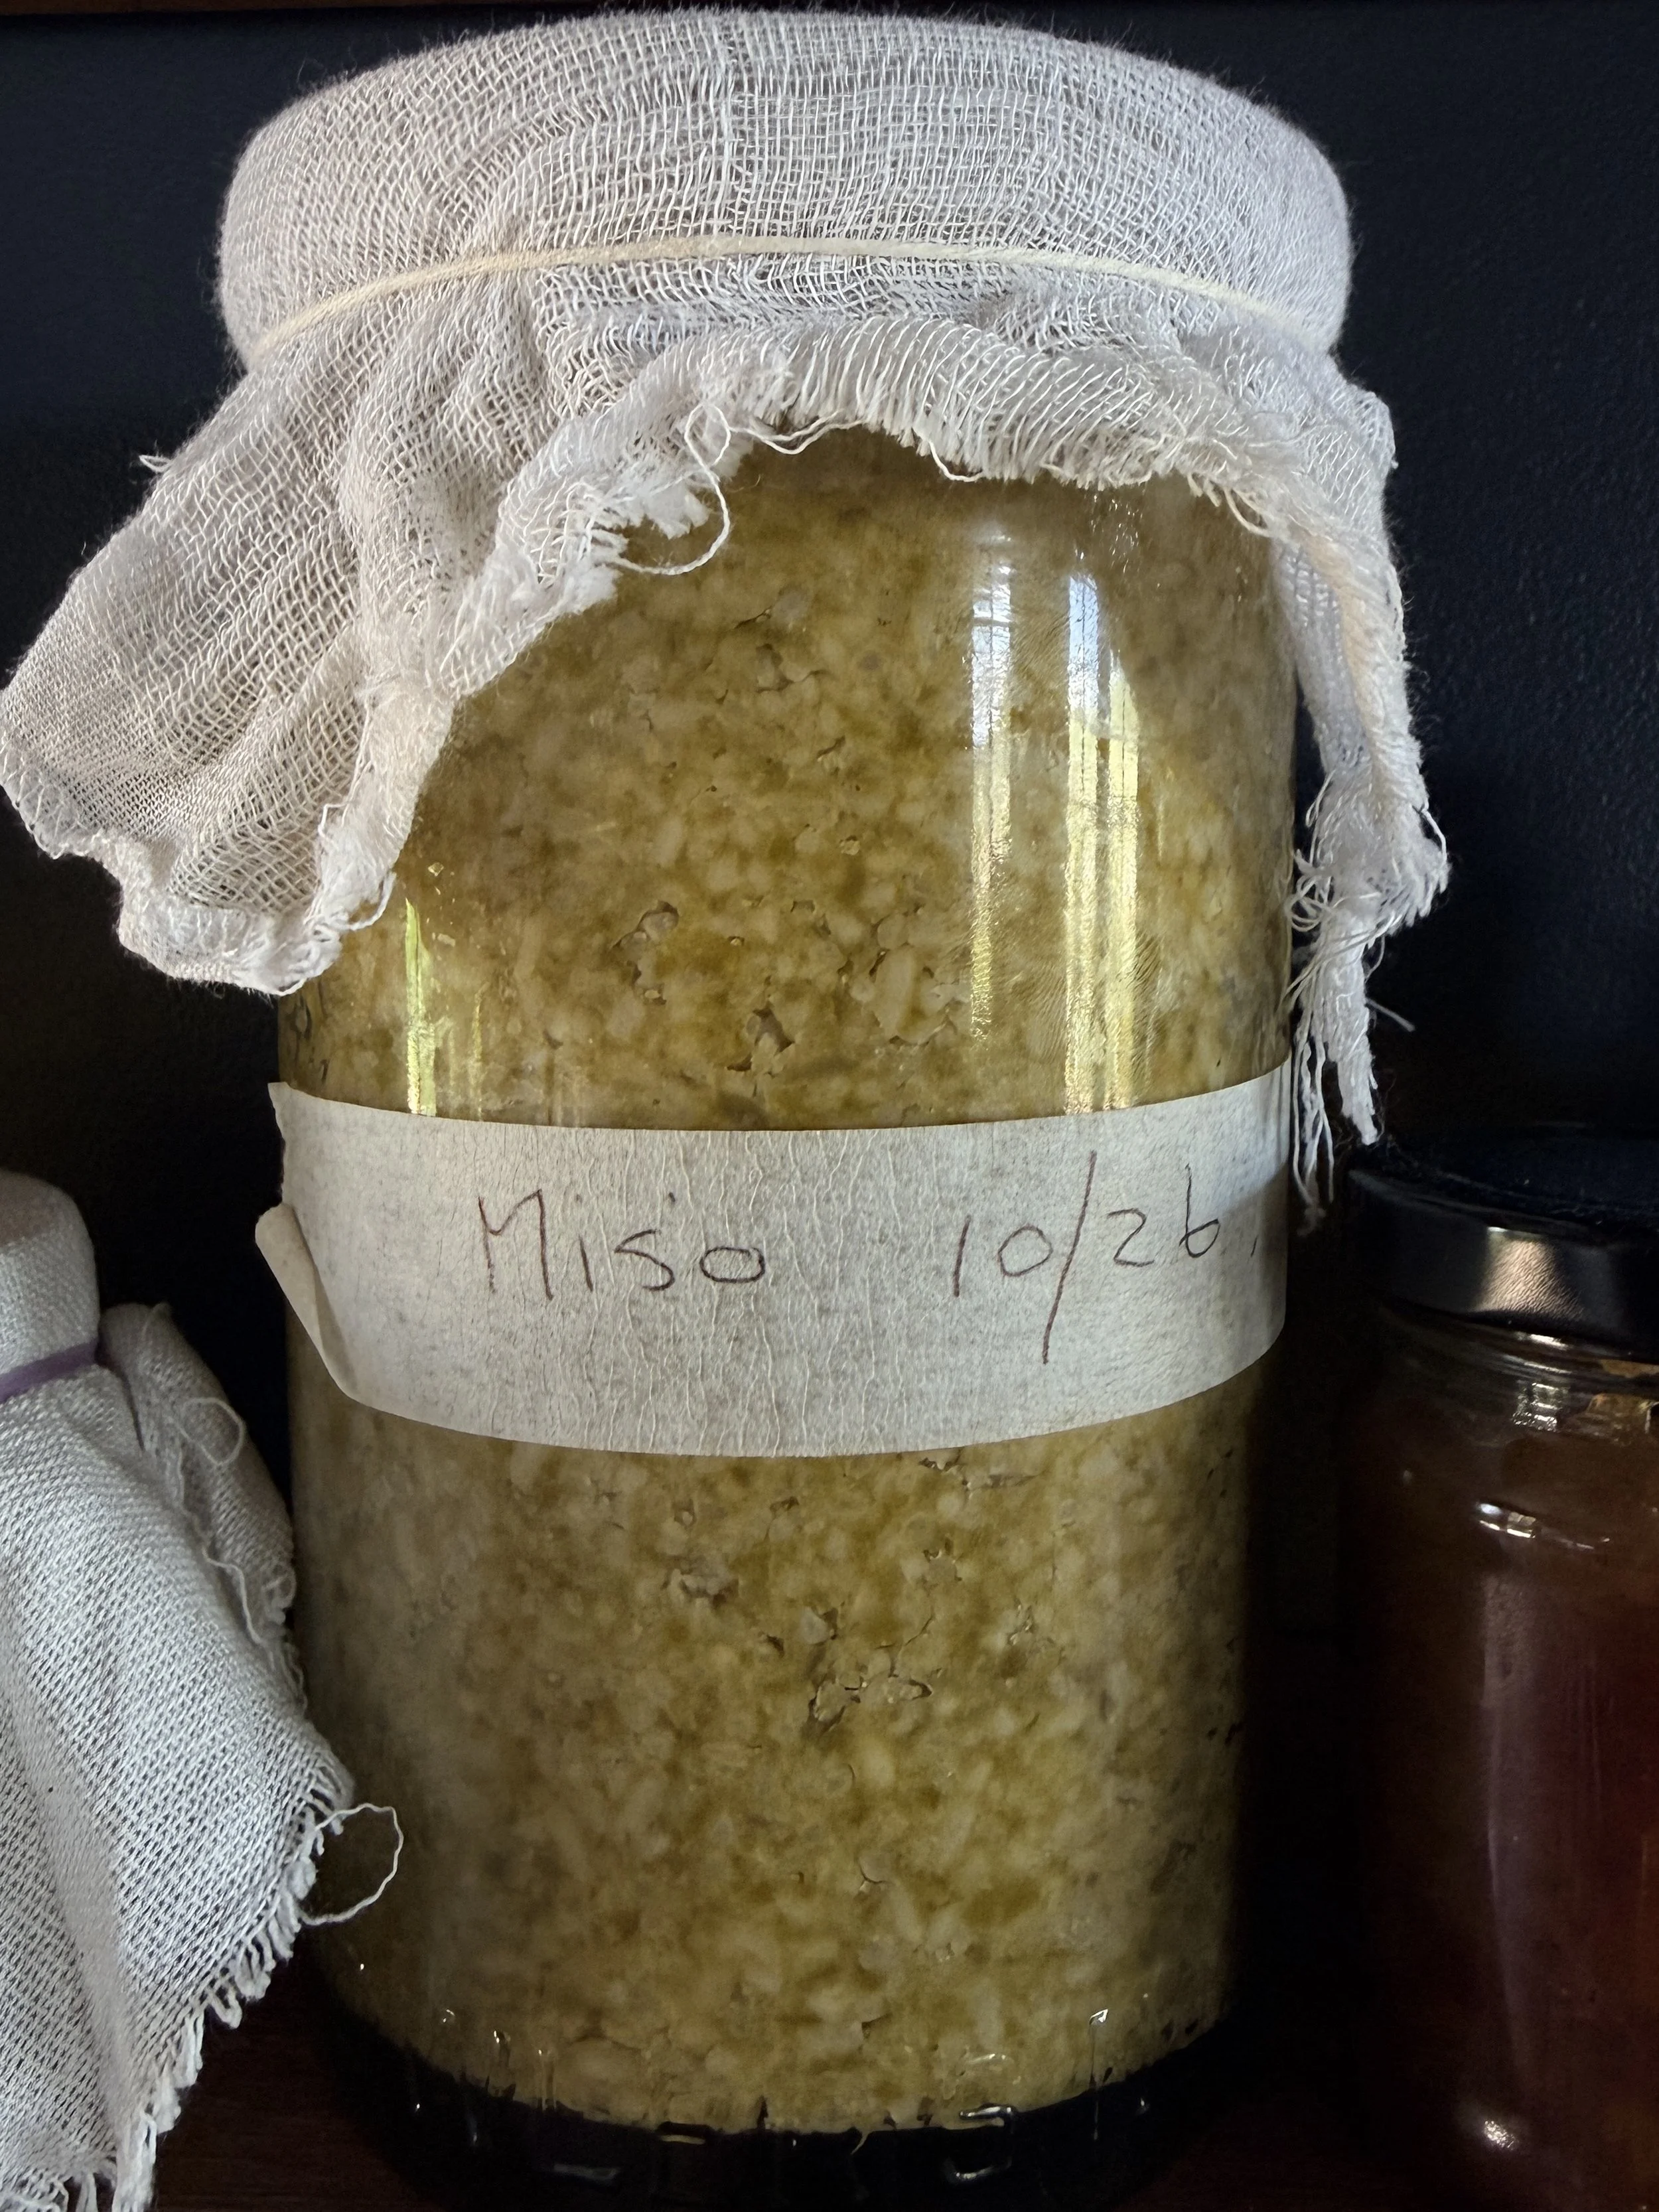
Broad Bean Miso
Makes about 1.6 kg
Ferment time: 3 to 12 months
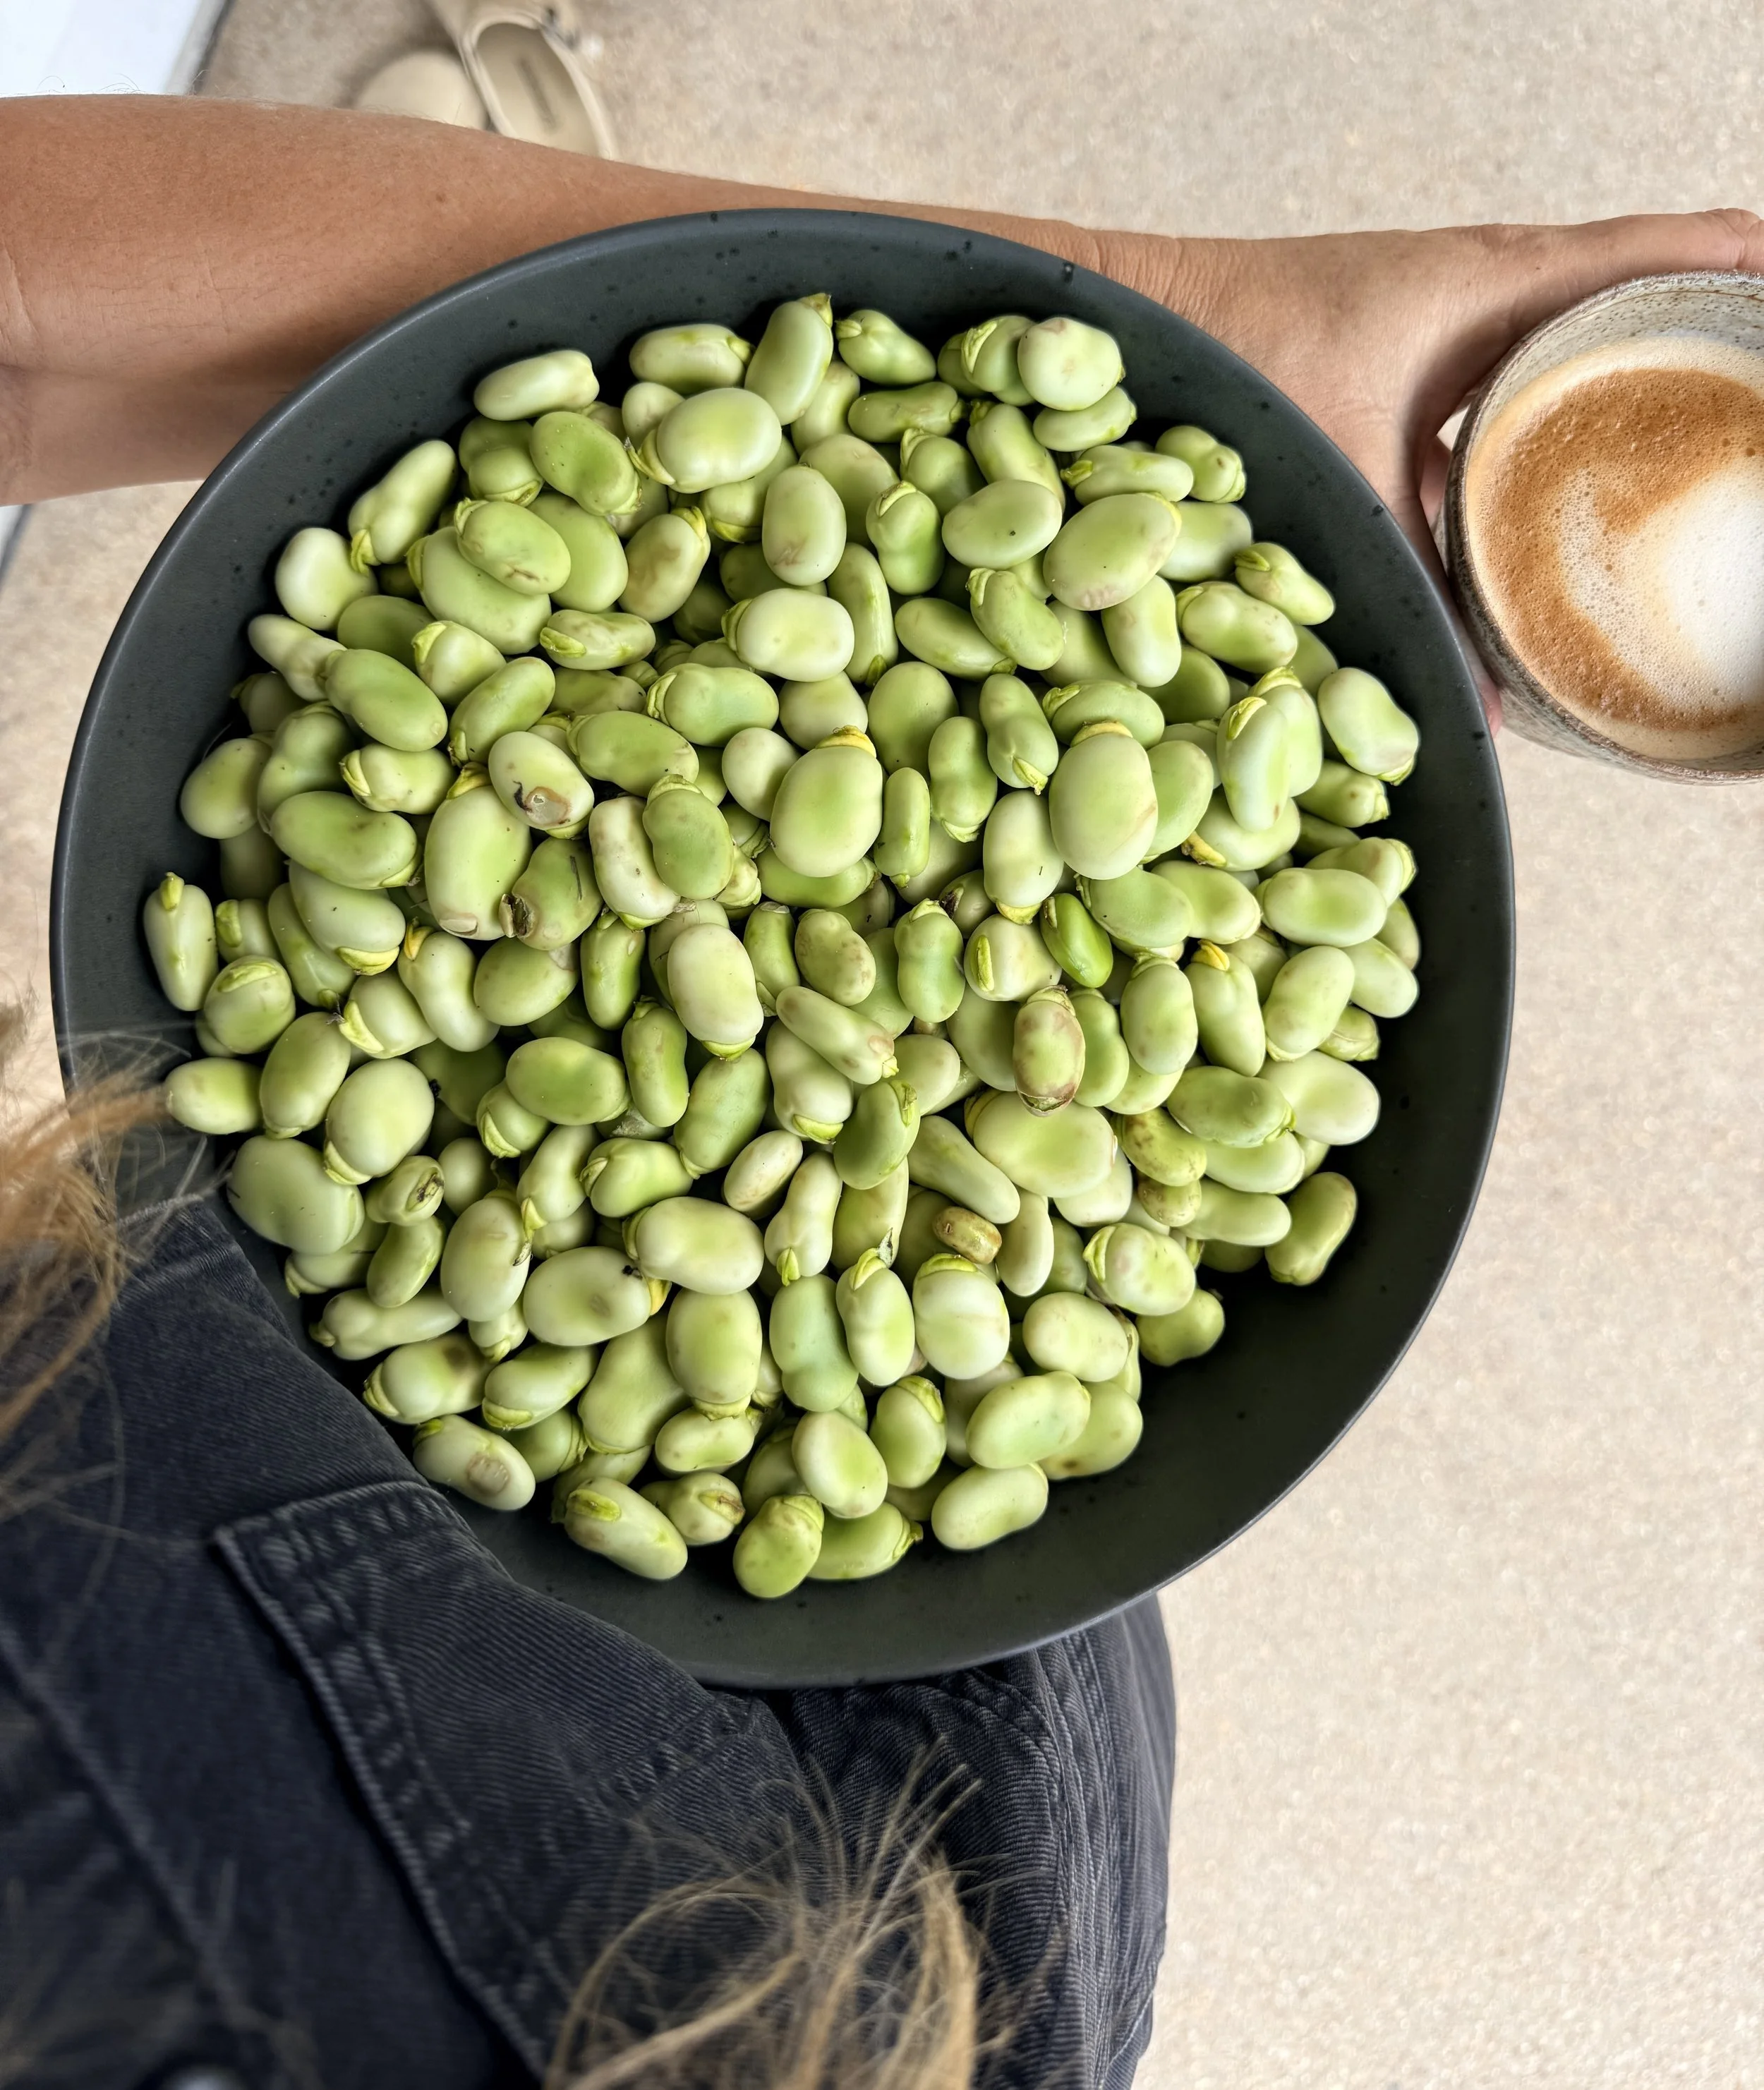
I make this with broad beans from the garden, but you can use any bean you like. The ratio stays the same: equal weights of cooked beans and koji, with about 12% salt.
Ingredients
800 g cooked, shelled broad beans
800 g koji
190 g fine salt (I use Himalayan fine salt), plus a little extra for the top
2 tablespoons water
You’ll also need
A very clean glass jar (about 2 litres)
Plastic wrap
A weight, such as a bag of dried rice
Muslin or a cloth, and string
Method
Boil the beans until they’re very, very soft. Drain, keep a little of the cooking water, and let the beans cool to room temperature.
While the beans cool, rehydrate the koji with 2 tablespoons of water. Add the salt and mix it through well.
Blend the cooled beans to a smooth paste.
Combine the bean paste with the koji and salt mixture, and mix very thoroughly.
Check the moisture. Think of wet sand at the beach: when you squeeze a handful into a ball, it should hold its shape. If it crumbles, add a splash of the reserved bean water. Getting the moisture right really matters.
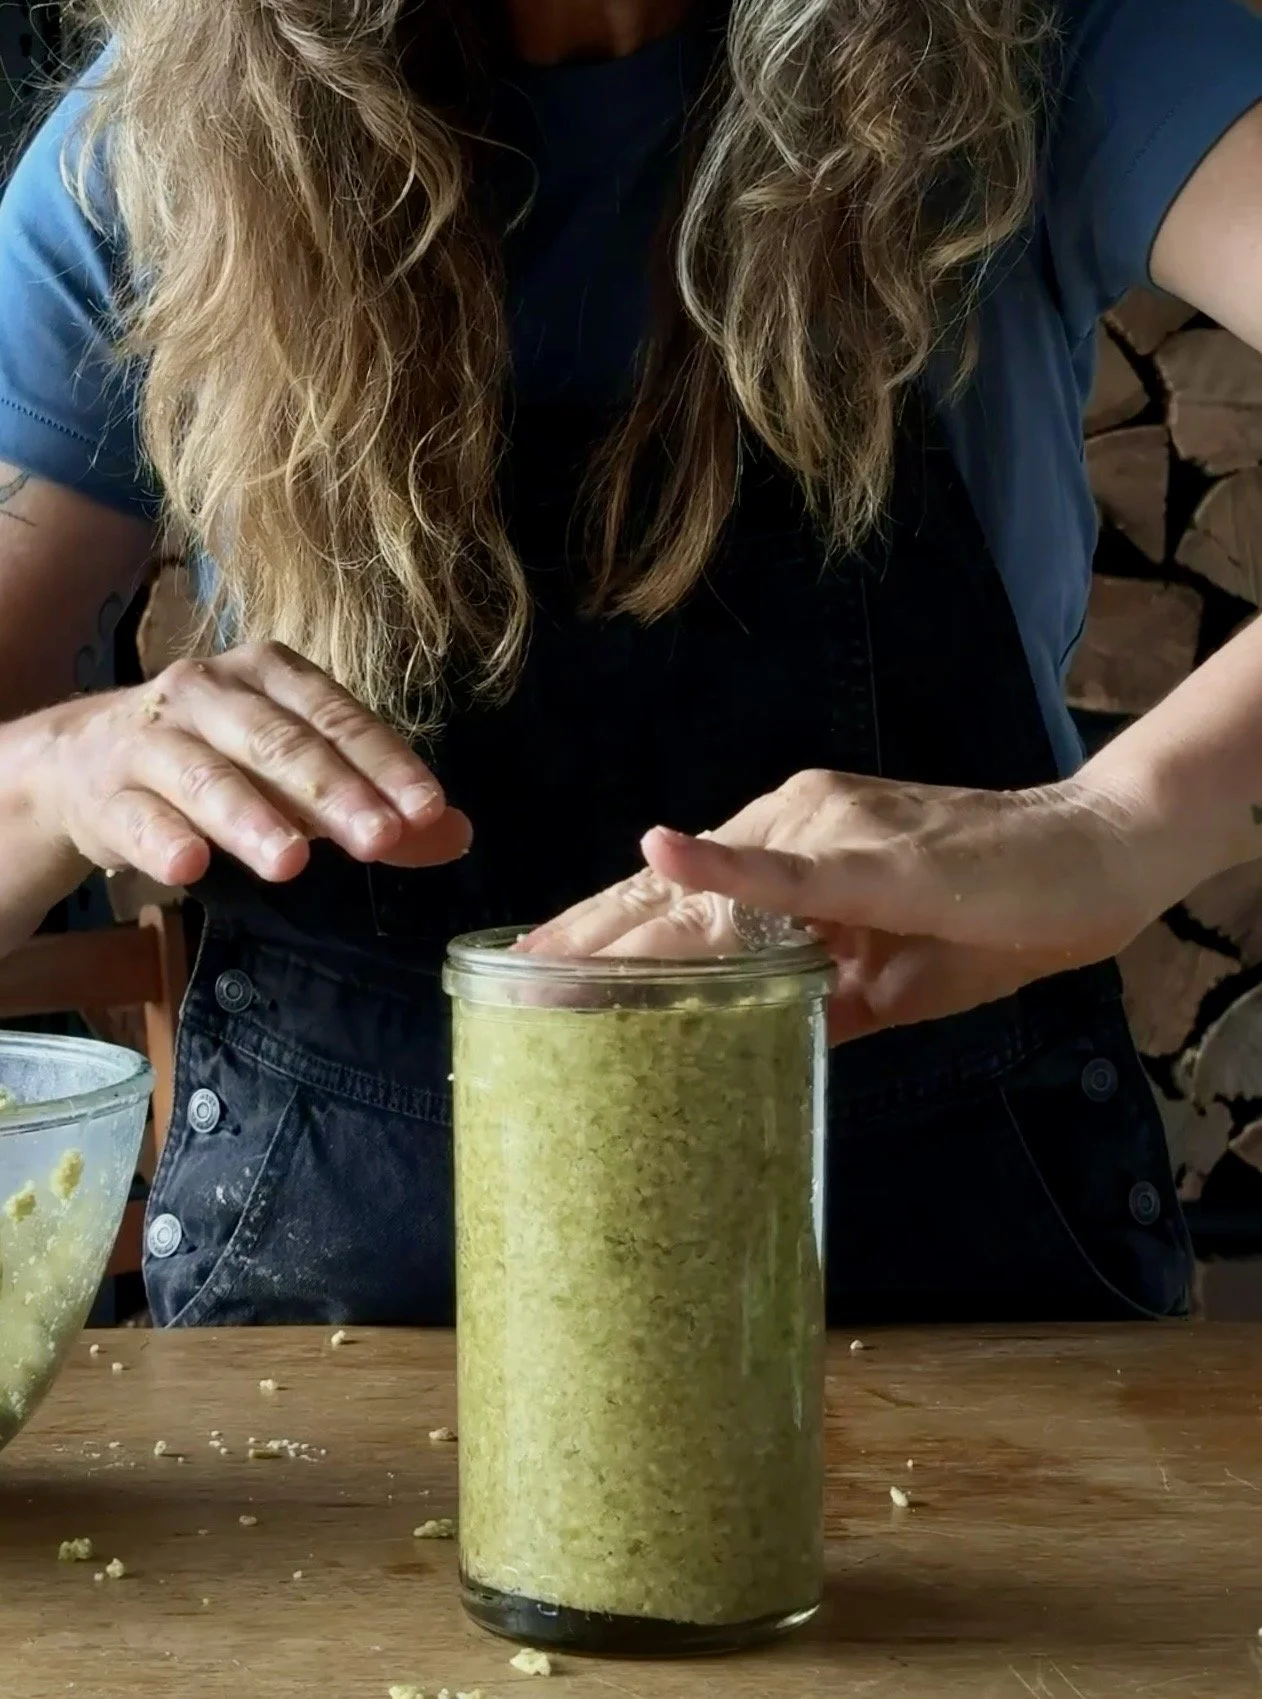
Pack the jar. Roll the miso into balls and throw them into the jar, pressing each one down firmly. You want no air pockets at all, because air pockets are where unwanted bacteria and mould grow.
Smooth the top and sprinkle it with a thin layer of salt.
Clean the rim and inside edge of the jar thoroughly. A cloth dipped in vinegar works well.
Press plastic wrap directly onto the surface of the miso, then add your weight on top. I use a bag of dried rice.
Cover with muslin and tie it off with string.
Leave it on a shelf away from direct sun for 3, 6 or 12 months, depending on the flavour you want. The longer it ferments, the darker and deeper it gets.
Notes
Don’t use iodised salt, because it can interfere with fermentation.
If you see a little white mould on top, scrape it off along with a thin layer underneath. The miso below is fine.
A layer of dark liquid on top (tamari) is a good sign. You can stir it back in or use it like soy sauce.
How I use it
Once you have a jar of homemade miso on the shelf, you’ll find yourself reaching for it constantly. A spoonful brings depth to almost anything.
Miso butter: mash a tablespoon into soft butter and melt it over roasted vegetables, corn on the cob or a warm loaf of bread.
Salad dressing: whisk it with olive oil, a little honey and lemon juice or vinegar.
Soup: stir it into broth at the end of cooking, never boiling it, for a quick, nourishing bowl.
Marinade: rub it over chicken, fish or eggplant before roasting.
Eggs: whisk a little into scrambled eggs or an omelette.
More From My Kitchen
Miso is one of the staples I keep coming back to, and it’s only the beginning. My kitchen staples book is coming soon. It’s for anyone who wants a pantry they’ve made with their own hands, and it’s full of the ferments, preserves and basics I make here on the farm, along with the everyday ways I use them.
Join the waitlist here to be the first to know when it’s ready.
Slow Beautiful Christmas
If you love making things by hand, join me this Christmas. Six live cook-alongs, 30 of my family’s Christmas recipes, and a small group making it all together. Doors close 6 November.